Hardware Tools
SD Card Switcher
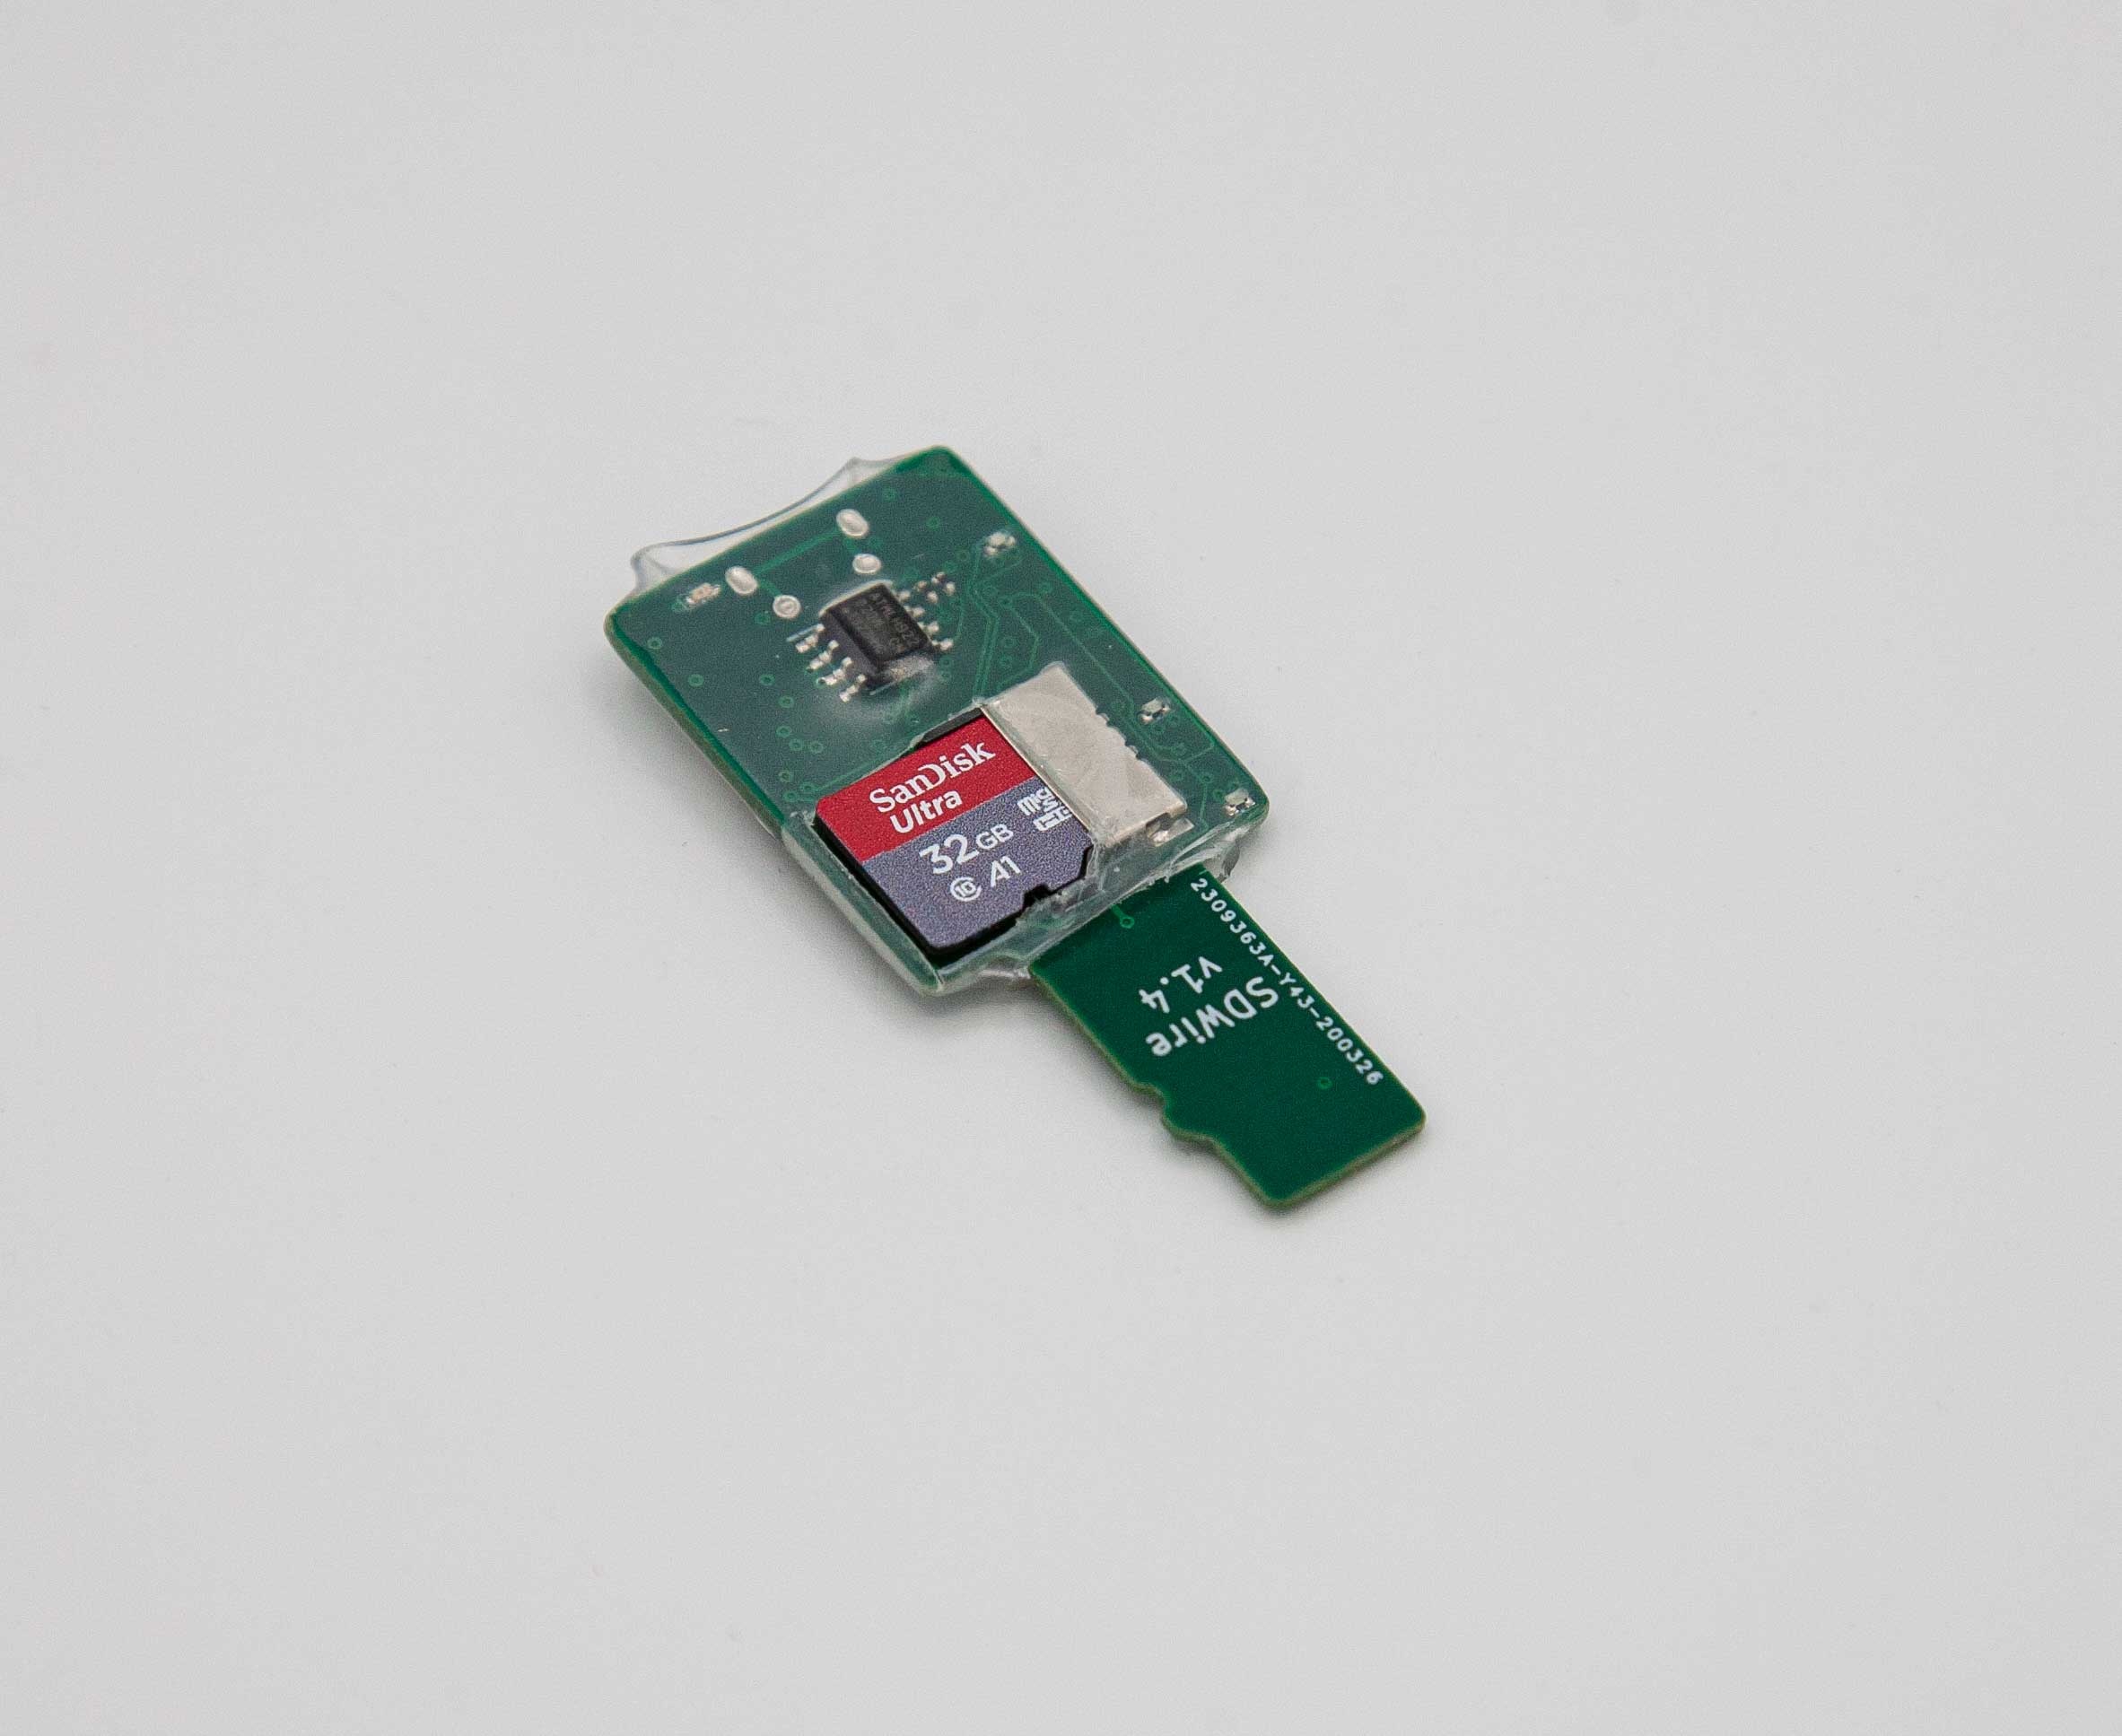
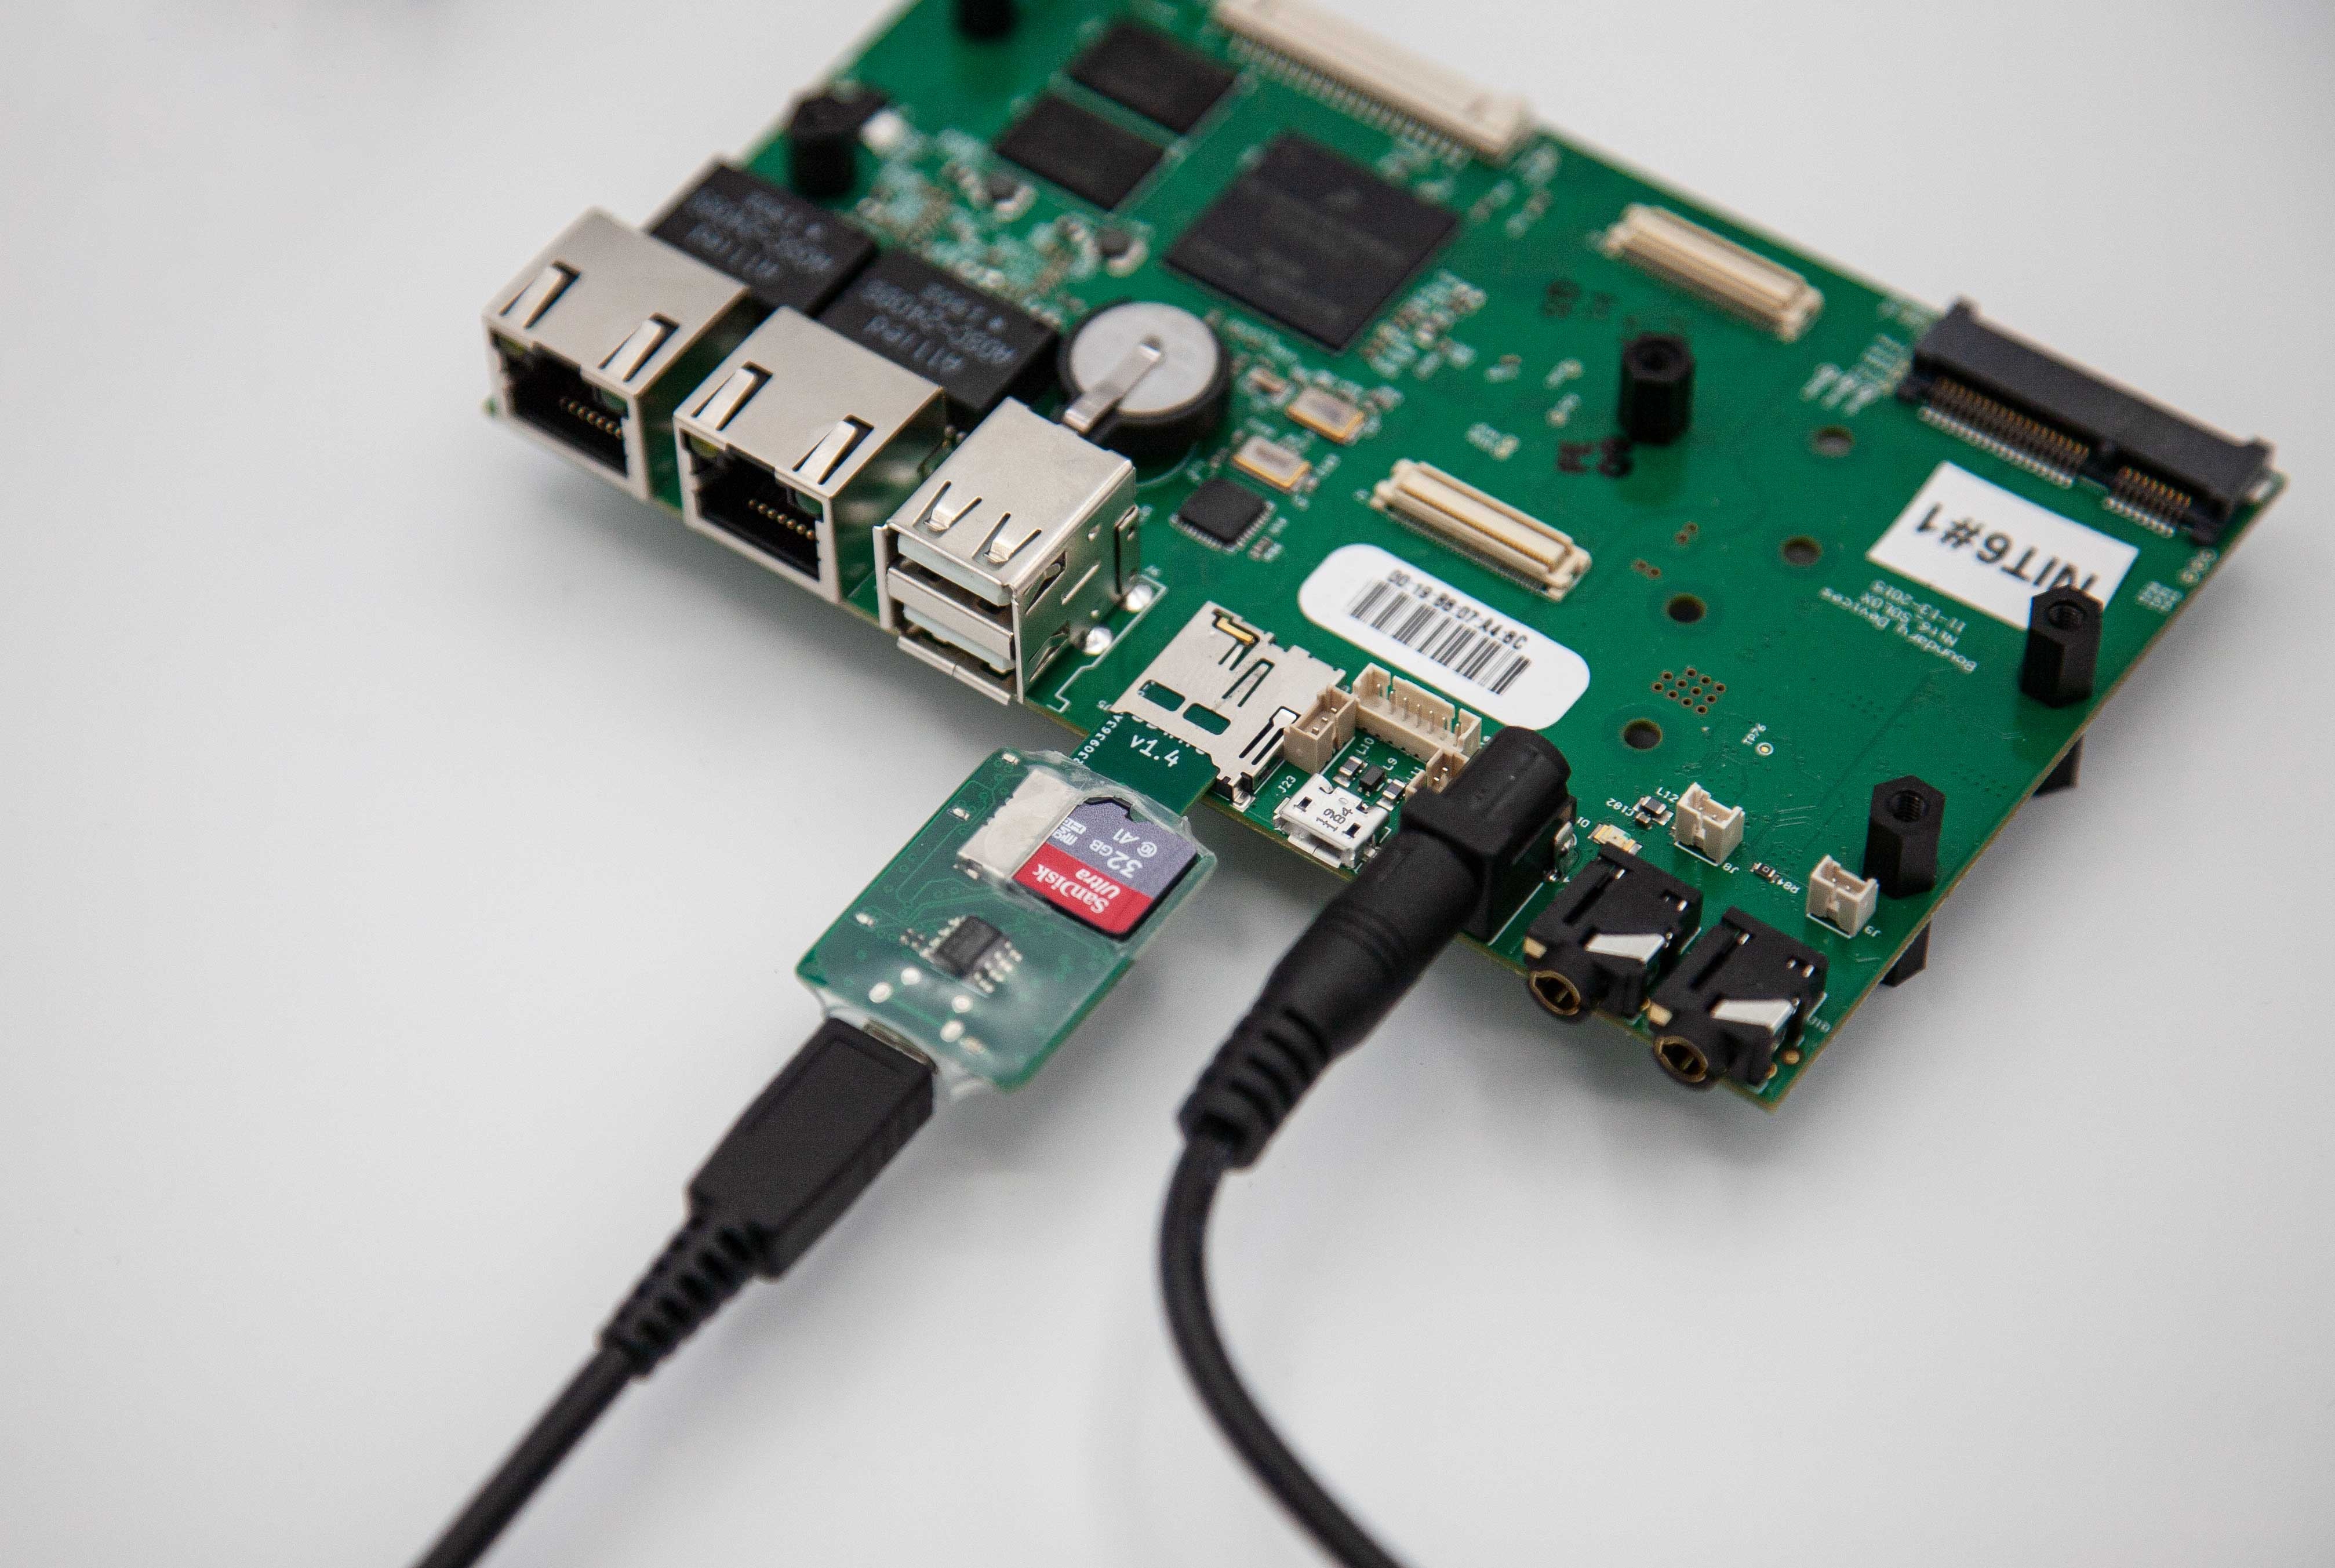
A boot from microSD card requires that the microSD card is provisioned with all necessary files, i.e. the TRENTOS system image. During development it is often required to change the content of the microSD card. In order to avoid manual insertion / ejection of the microSD card the SD Card Switcher is inserted into the microSD card slot of the target device and connected to the Host PC via an USB cable. This setup provides an efficient and automatic way to switch the microSD card between the Host PC and the target device which is especially useful for debugging and test automation.
Hardware
The usage of an SD Card Switcher is exemplary shown in combination with the supported Nitrogen6_SoloX, based on the SD Card Switcher by TIZEN (https://wiki.tizen.org/SDWire).


Setup
At first, the respective sources have to be obtained from the repository
(https://git.tizen.org/cgit/tools/testlab/sd-mux/) and the
corresponding application has to be compiled and installed in the
system. For the compilation g++ and cmake are required as
well as the development libraries
libftdi1-dev and libpopt-dev. Build and installation
instructions are given in the provided README.
Afterwards, we can identify a connected SD Card Switcher via the following call:
sudo sd-mux-ctrl -l
This results in an output similar to the following:
Number of FTDI devices found: 1
Dev: 0, Manufacturer: SRPOL, Serial: 202005170013, Description: sd-wire
The SD Card Switcher can be selected either via the dynamically assigned device ID or via the fixed serial number.
Usage
By using the respective serial number (e.g. 202005170013) or device ID
(e.g. 0), we can switch between the Host PC (parameter -s) …
# Using serial number 202005170013 for switching to Host PC
$ sudo sd-mux-ctrl -e 202005170013 -s

# Using device ID 0 for switching to Host PC
$ sudo sd-mux-ctrl -v 0 -s
… and the target device (parameter -d).
# Using serial number 202005170013 for switching to target device
$ sudo sd-mux-ctrl -e 202005170013 -d

# Using device ID 0 for switching to target device
$ sudo sd-mux-ctrl -v 0 -d
Example Script
The following example script shows, how the complete cycle of copying a file to the SD Card Switcher can be automated:
#!/bin/bash -ue

PROJECT_BUILD_DIR=<build_directory_of_the_project>
SD_WIRE_DEVICE_ID=<sd_mux_device_id>
SD_CARD_MOUNTPOINT=<sd_card_mount_point>

# connect SD card to PC
sudo sd-mux-ctrl -e ${SD_WIRE_DEVICE_ID} -s
sleep 2

# copy data to SD card
cp ${PROJECT_BUILD_DIR}/images/os_image.elf ${SD_CARD_MOUNTPOINT}/

# ensure files are written to the SD Card
sync
umount ${SD_CARD_MOUNTPOINT}

#connect SD card to device
sudo sd-mux-ctrl -e ${SD_WIRE_DEVICE_ID} -d
Adafruit FT232H Breakout Board
TRENTOS systems can run on actual HW platforms and in the QEMU emulator. While interfacing with QEMU is a pure software issue, communication with hardware requires adapters for the different interfaces and protocols. The two most important use cases are accessing the UART to capture the systems logs and JTAG for debugging. Reading and setting GPIO pins and communication via SPI or I2C are further use cases.
The FTDI chip family with its Multi-Protocol Synchronous Serial Engine (MPSSE) implements a generic USB interface that can be used for all these different protocols. Various adapters built around this chip family are available. Especially the Adafruit FT232H adapter (https://www.adafruit.com/product/2264) based on the FTDI FT232H chip (https://www.ftdichip.com/Products/ICs/FT232H.htm) has turned out to be very useful. It is broadly available at reasonable costs and makes all pins of the chip available. A detailed explanation can be found at https://learn.adafruit.com/adafruit-ft232h-breakout.
Throughout the TRENTOS SDK, this adapter will be used in the examples.